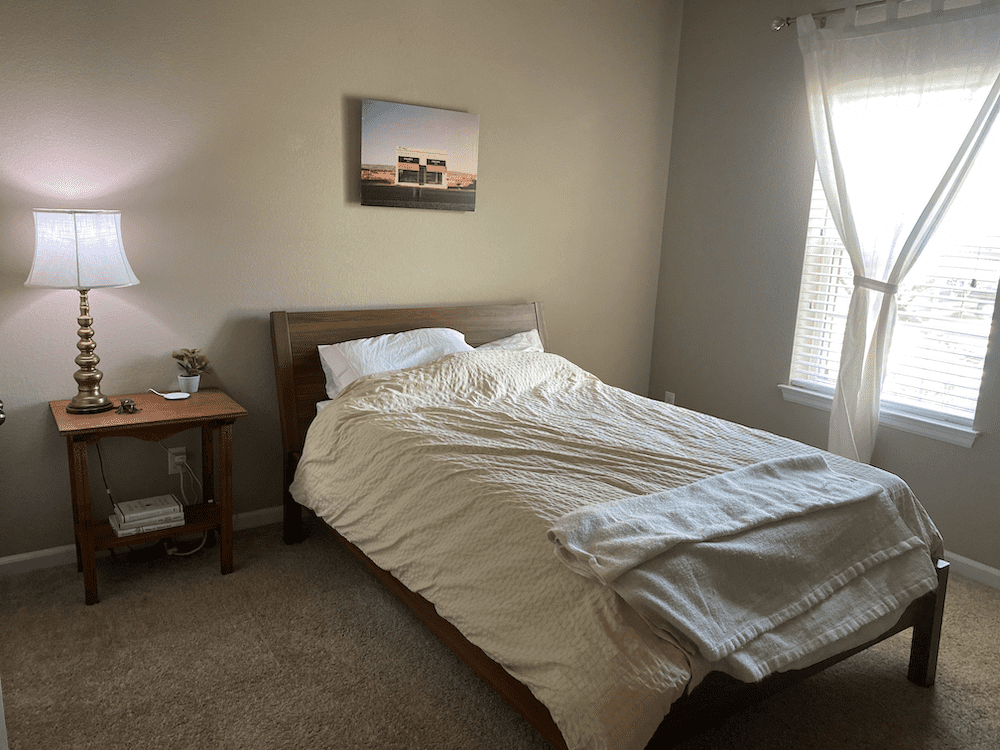
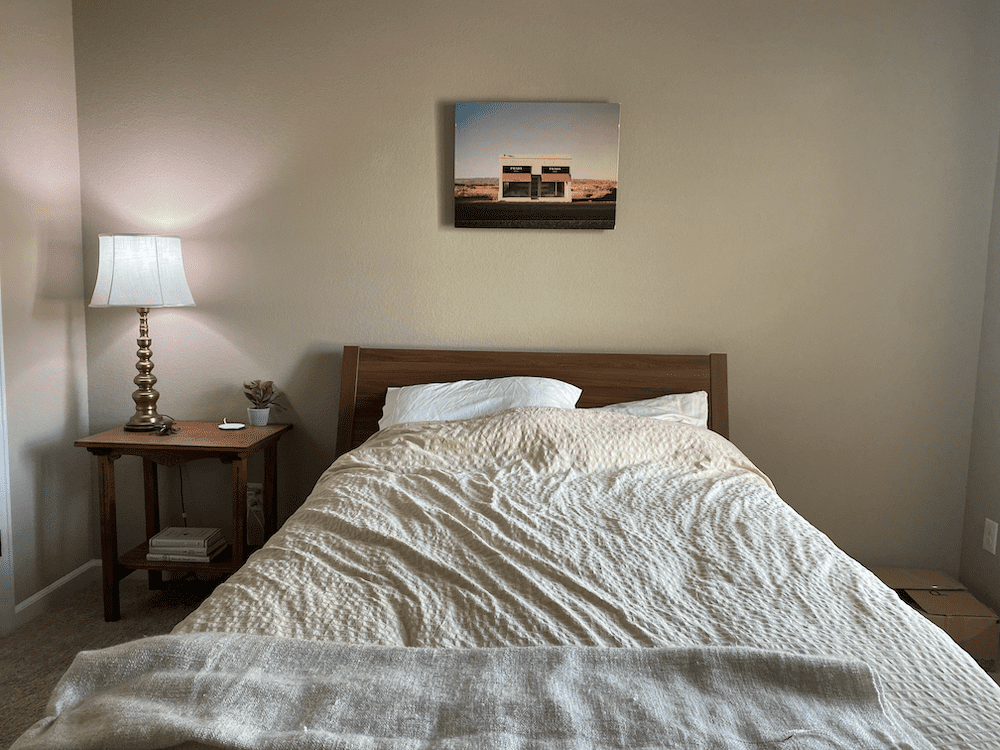
Welcome to my guest bedroom, aka the Snoring Room.
This is the first in a series of a bedroom makeover.
Here’s the Room’s stats:
- 11’3″ x 13’8″ with 9 foot ceilings
- Builder Brown Carpet
- Interior PPG Caravan color
- White Trim (PPG Decorator White Alkyd Enamel S-6)
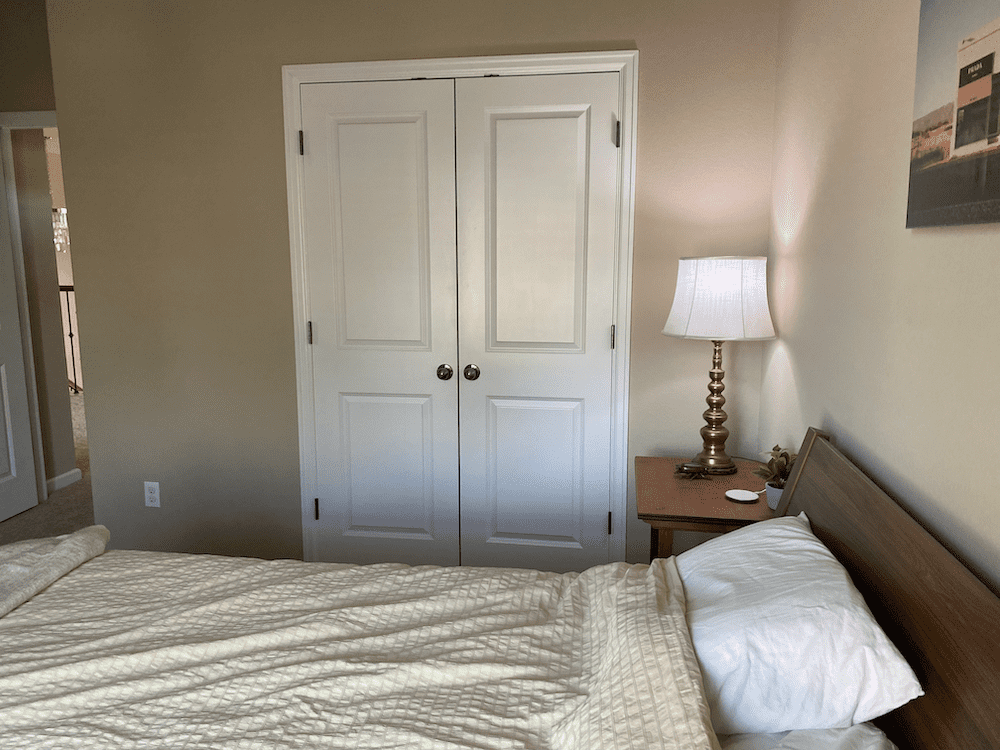
There’s one window, and a decent size closet with double doors. The walls have a simple knock down texture. It’s 100% builder brown (even the ceiling). Probably the only redeeming feature is that the trim work is the perfect shade of white.
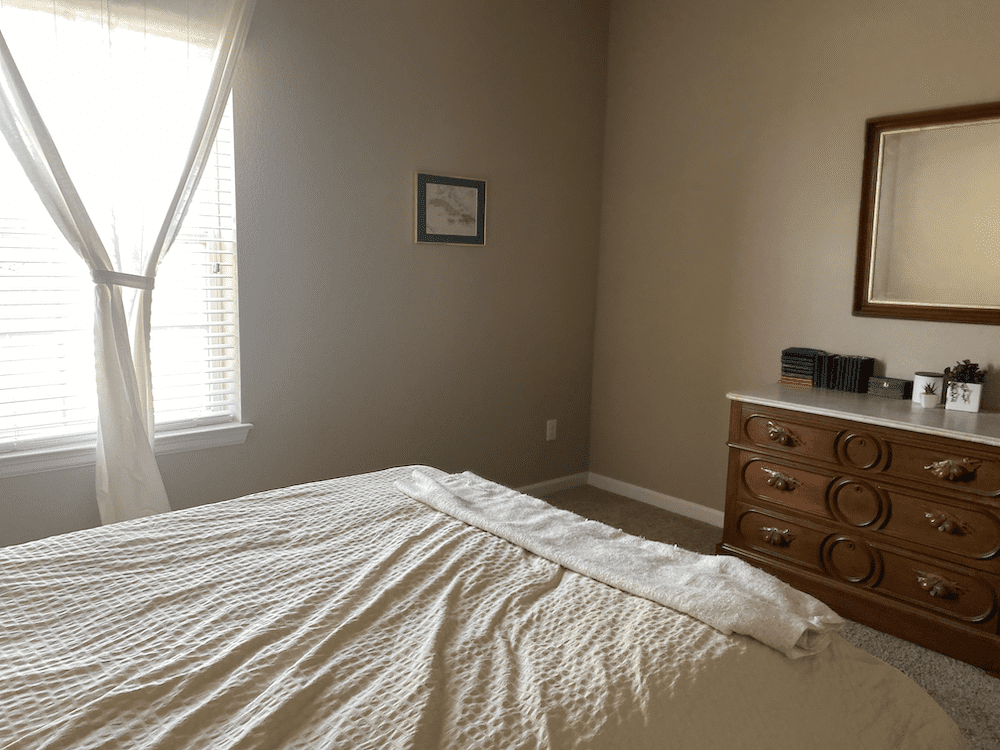
It’s a good sized bedroom. We have a double bed in there now, but it will easily accommodate a Queen size mattress. There’s also room for two side tables, a good sized dresser (or desk) and even a side chair.
Right now it’s used as a secondary bedroom when I get kicked out for snoring too much – that’s how it got it’s name. I want it to turn into a very comfortable, cozy, quiet space – perfect for napping, or deep REM sleep.
During the day, I want it to feel bright and airy, and at night it needs to be able to become dark – like blackout dark, for that ideal sleeping experience.
As for style, we love a combination of traditional and classical styles mixed with Boho and even modern. Not stuffy or old fashioned. Comfortable, and very livable.
A place where every piece of furniture, art, and decor has a story to tell.
Design Philosophy
As a Home DIY-er, I love looking at other peoples designs and how they get the job done. But one thing they usually don’t spend a lot of time on is the budget for the process.
I don’t know about you, but I’m not made out of money. I can’t afford the latest styles and trends, and instead focus on a more contemporary timeless, look, one that I can update with a single piece, and not have to entirely re-do a room when a popular paint color changes.
That means I like to incorporate more traditional elements into a room. But traditional doesn’t mean fun. My regular readers know I love Home Automation, Thrifting finds, and DIY look-alikes.
This post will explain how I marry the design I want with the funds I have.
Budget
In order to not just go wild, I plan a budget for every project.
I want a big change, and to do that I need to paint, and wainscot the entire room to get rid of the builder brown # bathebeige.
Here’s the breakdown:
- $150 – Paint
- $600 – Lumber
- $200 – Bedding
- $150 – Decor
Total Budget = $1100
There’s a little wiggle room on the Paint and Lumber because those materials can vary a lot, even week to week. The bedding and decor are pretty set, because I can get prices on-line from the stores that have the things I want.
Paint
I estimate I’ll need 3 cans of paint (ceiling, walls, wainscot) – The going rate for a can of Sherwin Williams is around $50, so there’s that.
Lumber
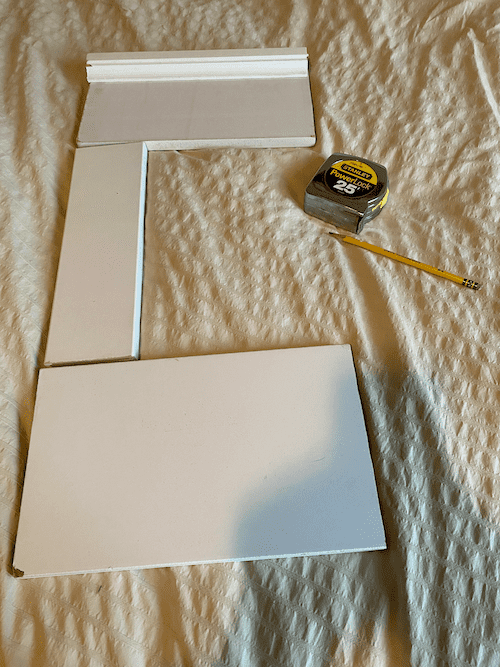
Instead of getting sheets of MDF and cutting it down to what I need, I’ll be buying pre-primed boards in the following sizes: 1×2 cap, 1×6 top, 1×8 bottom, and 1×4 vertical pieces. Since I’m doing the entire room (all 4 walls) it is the biggest part of my budget. I could just do one wall, for a quarter of the cost, but I want to make a big change!

Using my Moleskin Notebook that I have dedicated to my house, I used one page for each wall, and accurately drew out where the doors, and windows and outlets were. This allowed me to then draw in the wainscoting, so I could then calculate exactly how much MDF material I would need (and accounted for some error, too, because I’m far from perfect at this).
Bedding
This is the snoring room so bedding is super important. To help stay on budget, all of this will come from Ikea, which has great stuff for reasonable prices, and looks amazing to boot! As I mentioned before I’m going for a boho / traditional look, so stay tuned for that.
Decor
This room is designed for darkness, so a lot of extra accessories aren’t needed. I’ll pull what I need from other parts of the house. I do have a little room to buy a few things, and I think that some framed prints would look really nice over the bed.
So that’s the plan – what do you think? Do you have a spare bedroom? Have you re-done yours? Have you ever added Wainscot? Do you have any great painting tips? I’d love to hear about your adventures in working on a spare bedroom.